We’ve all dreamt it. Whether it was just a fleeting moment or something that has turned into an all-out obsession, we’ve all pictured ourselves packing our life away into a campervan and driving off into the sunset.
‘Van Life’ culture is sweeping across the globe. And if you have a big enough budget, you’ll be able to pick up a van to your exact taste and begin the adventure immediately!
However, with increased demand comes an increased price tag. The far more affordable option is to buy a van and convert it into a camper yourself. It can be quite a daunting process. So I have designed this article for you, to give a clear breakdown of the steps needed to create a home on wheels.
Before you can build your camper…
The Tools & Materials You’ll Need For Converting a Camper Van
There are certain tools that you really are going to need to help make your van conversion process as easy as possible. With a bit of luck, you may already own some of these or know somebody you can borrow off. Some DIY stores allow you to rent tools too, which may be a good option.
Whatever the case, these are the things I really couldn’t have done it without:
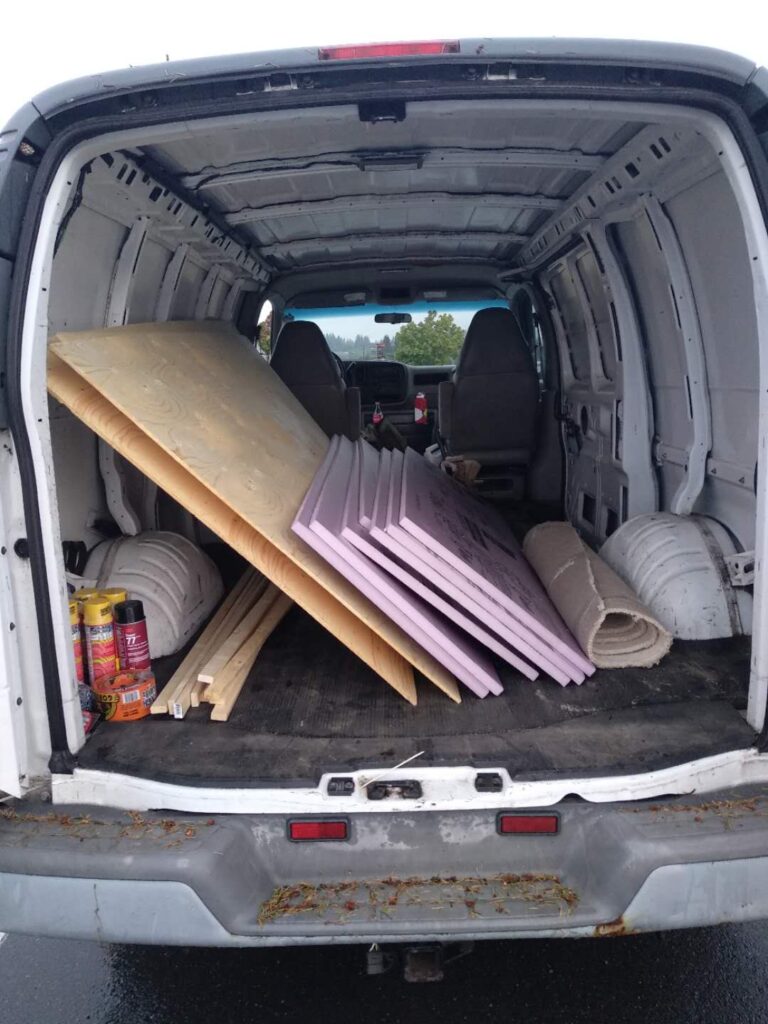
- Plywood
- Furring strips
- Insulation – thickness depends on the climate you plan to be in
- Screws
- Furnishings
- Cordless drill
- Foam mattress – foam can be cut down to shape if need be
- Luminoodle light strip powered by an Anker Powercore – this means the power bank charges through the 12V cigarette lighter whilst you drive, which then powers your phone & lights in the evening
- Great Stuff – expanding foam, I think I used 3 of these
- Gorilla Tape – absolutely essential
- 3M Adhesive Spray
- Paint
- Reflectix – for making your window privacy covers
- Twin camping stove & gas
- Cutlery and plate set
- Pots and pans set
- Cool box for food
- Camping shower – these things are incredible and surprisingly hot
Once you’ve purchased the items above, you will be well on your way to making your van into a home! Re-use-it centres, second-hand stores and other quirky thrift stores are excellent places for picking up cheap furniture to put into your van.
How to Choose a Van
Often you will be limited to what’s available to you, either in terms of geographical location of price flexibility.
Here are some questions to ask yourself to narrow your search:
- Will I be living full-time or part-time van life?
- Will I be in the van during the winter?
- Will I be by myself? Or will someone else join me, partner/friend/dog/cat?
- How much ‘stuff’ do I need to fit in here?
- Do I need a lot of space for equipment?
- Will I be going deep into the backcountry, or staying nearer built up areas?
Different needs will require a different layout that may only be achievable with a certain size vehicle. For me, I was planning on using my van for 3 seasons, skipping out winter. Therefore, I didn’t need to worry about making it ‘winter-proof’ and I didn’t need heating. My partner would join me some times, so I wanted room for us both as well as plenty of storage space for my kayak gear and snowboards.
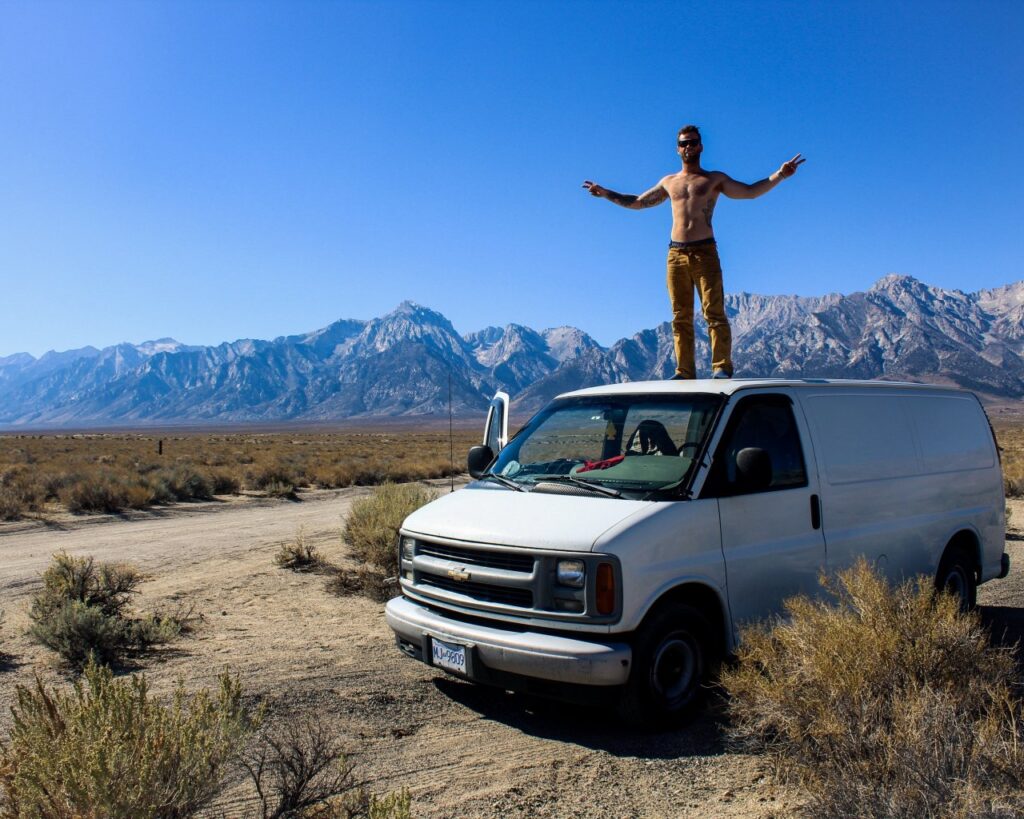
I stumbled upon a Chevrolet Express in my local area priced very reasonably. This was the van for me.
Designing the Layout of Your Camper
This is your blueprint, your vision of the finished product.
The main things to consider here are the bed and storage. Double. Single. Double that folds down into a single? Will it go width ways or along the length of the van? There are some really creative ideas online that allow you to have a large bed that then slides away to save space.
Using myself as an example again, I needed a lot of storage and a large bed. So I decided on a permanent structure going across the width.
I didn’t want to mess around moving hinges and pressing secret buttons in order to go to sleep every night so I liked the idea of having everything as is.
Preparing for Your Build
The first thing you want to do is give your van a deep clean. This will involve gutting out the entire thing. Depending how old your van is or your thoroughness, you may need to lift off some panel work to de-rust and remove mould.
Next Up, Insulating Your Van
Good insulation will keep your van warmer in the winter and cooler in the summer. How much and what type you use will depend on where exactly you plan to be going and what time of year.
For me the focus was on the walls and ceiling.
I screwed in ‘furring strips’ to create attachment ribs. I measured the rigid insulation to fit between the ribs of the van, cutting pieces to size around the abnormalities.
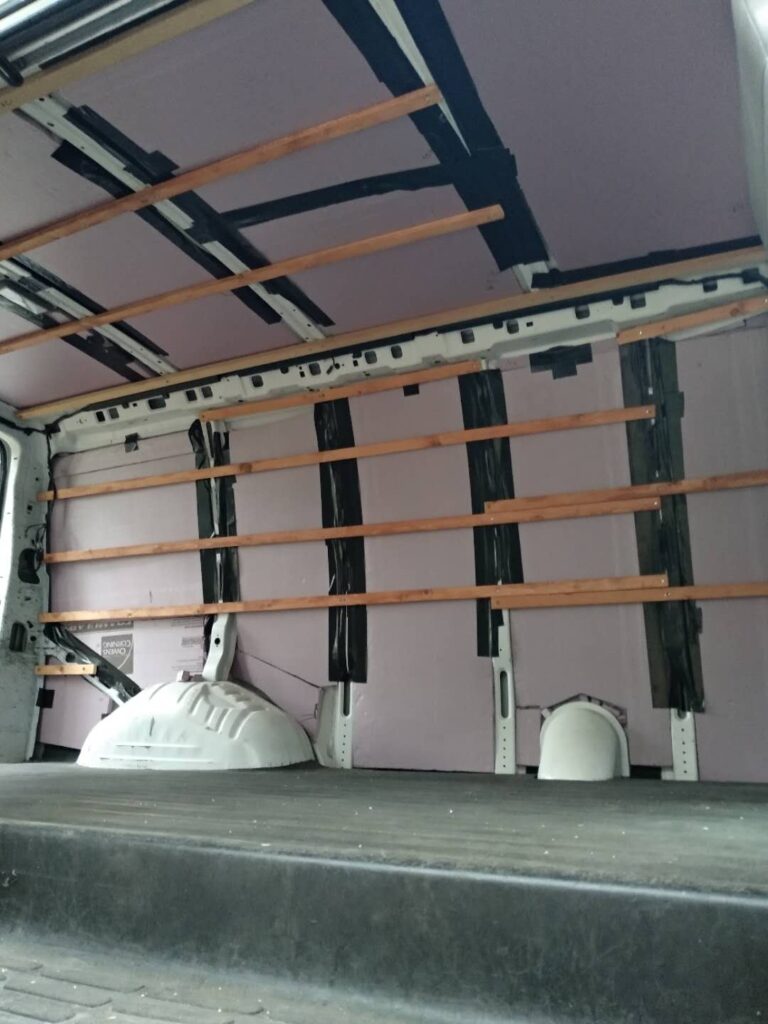
Walls and Ceiling
In order not to drill holes in the side of the van, furring strips are again used as a buffer.
These follow along the walls and ceiling. Be sure to make a note of where they are, as you won’t see them once the plywood is in place.
- Expanding foam can be used to fill in any gaps that are still exposed.
- The next step is to measure the plywood for the walls, particularly around the wheel arches and other awkward parts.
- It’s up to you if you want to paint them prior to putting them in, it doesn’t make much difference. I ended up painting the wrong side anyway and had to redo it…
Making a Bed for Your Camper
You could take out every single other step and just put a bed in a car (which many people successfully do) and you’ll be alright. So think carefully about what you’re going to do here.
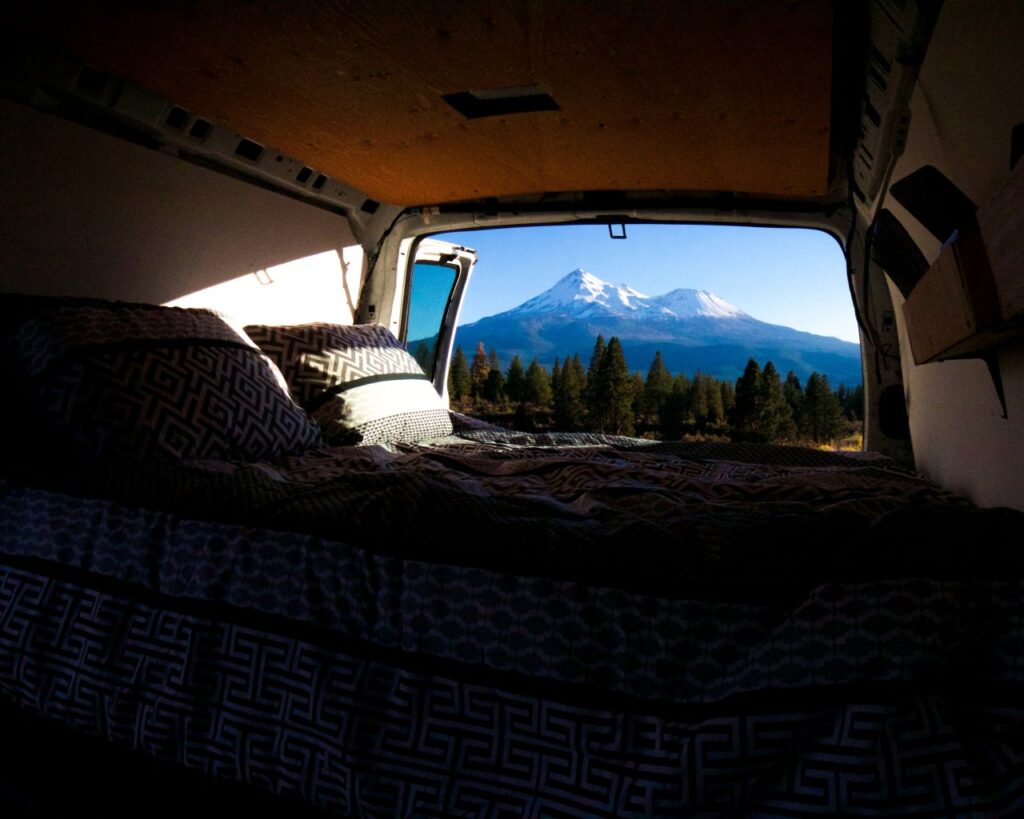
I’m 6’2″ft. and opted for a ‘full’ size bed. Which is 54” X 75” or 134.5cm X 190.5cm. Due to the walls and insulation added in, it actually falls slightly short on length. But I sleep curled up on my side so it wasn’t an issue for me.
An important tip for building your bed is to remember to attach everything to the van for extra support. You don’t want it to be moving and shaking around as you drive, so attach the legs to the van using a bracket.
I secured 4 posts to the actual van so as to stop movement whilst driving. I then added two beams, one on the front and one on the back from post to post. The bedding strips are then screwed directly onto those, creating a bed frame.
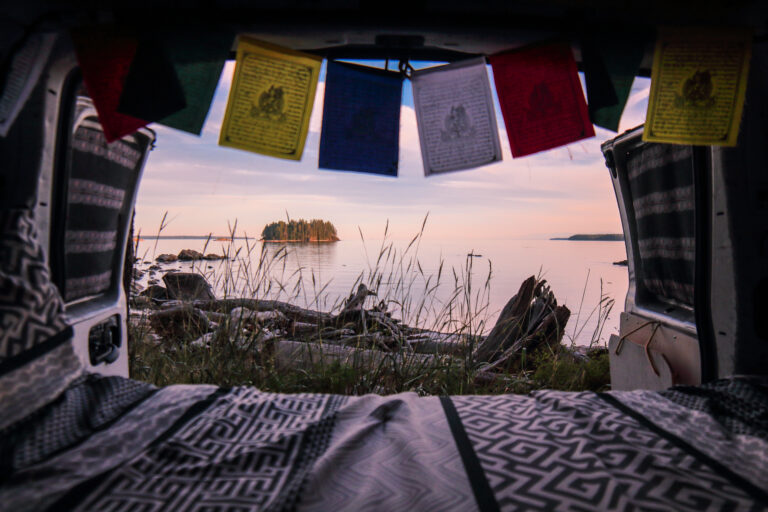
Making Your House a Home

Once all the ways and bed are in, it’s time to add some furnishings!
- Creativity and good use of space really comes into play here.
- Leftover plywood can be used to create shelves, countertops, cupboards or tables.
- Get ‘Road Trip Ready’. What do you need versus what do you want.
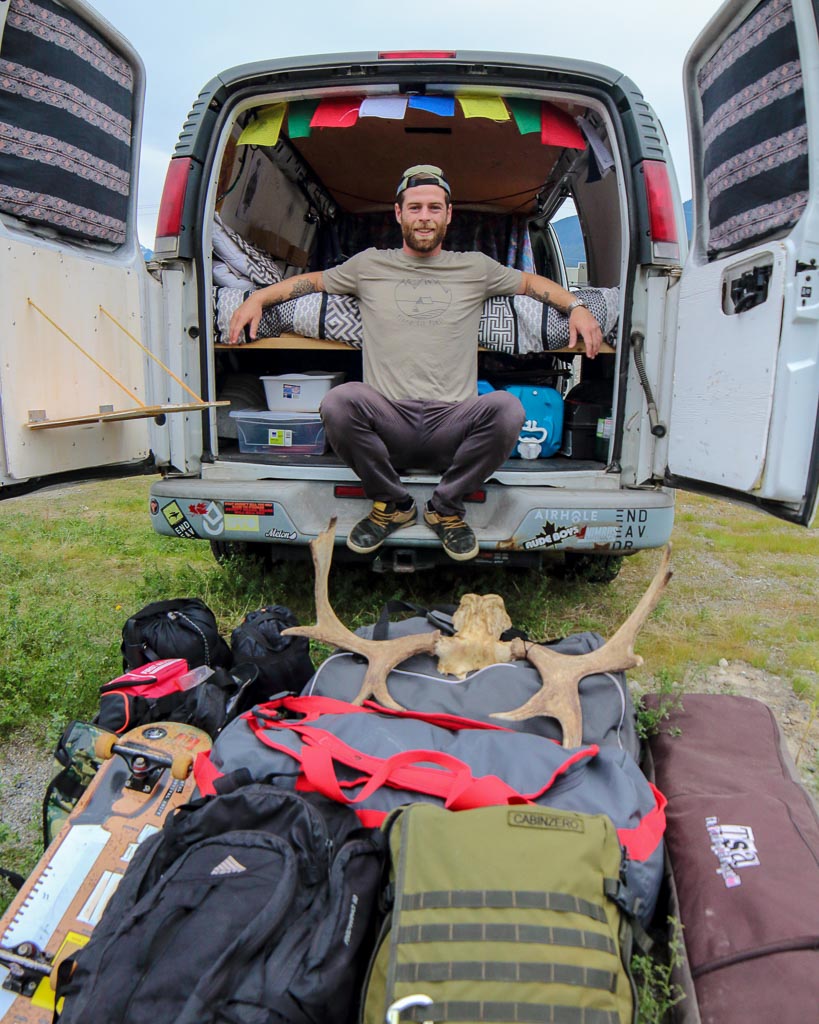
- At this point, you have all the basics and are ready to begin your new nomadic life on the road!
I celebrated with a 7,750km road-trip from Canada to L.A. and back. Where will you go?
Pin for Later